Sponsored

Recent Blog Entries

  • Das liegt daran, dass Geistliche für Hochzeiten oft lange im Voraus gebucht werden und Sie möglicherweise nicht möchten, dass Ihr bevorzugter spiritueller Berater oder Leiter durch jemanden ersetzt wird, den Sie nicht kennen, nur weil Sie nicht früh genug gefragt haben. Obwohl de...
  • Beachten Sie insbesondere die Einschränkungen, die diese potenziellen Veranstaltungsorte haben können, z. B. ein Mindestbudget für Verbrauchsmaterialien oder eine maximale Teilnehmerzahl, bevor Sie Ihre Wahl treffen. Auch wenn Sie bereits einen Veranstaltungsort gefunden haben brautmo...
  • Il matrimonio è un obbligo religioso, che implica un approccio serio alla santità dell'unione matrimoniale, che è il fondamento della famiglia. In passato il matrimonio religioso poteva essere celebrato solo quando i novelli sposi contraevano un matrimonio civile. Tuttavia, i te...
View All

Sponsored

Microsoft Outlook 2010 setup

  • Setup POP3/IMAP email account with Microsoft Outlook 2010


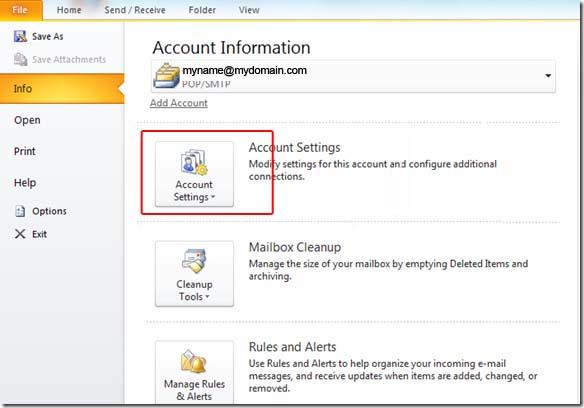
    STEP 1:   Open Microsoft Outlook 2010 and select File > Account Settings...


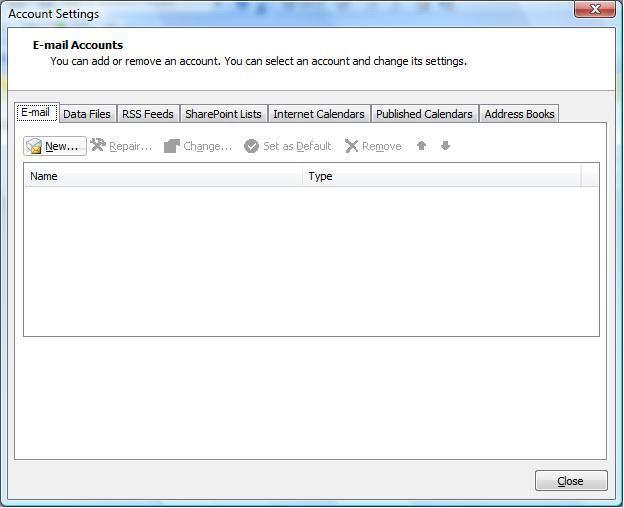
    STEP 2:   E-mail Accounts: Click the "New" button under the "Email" tab.


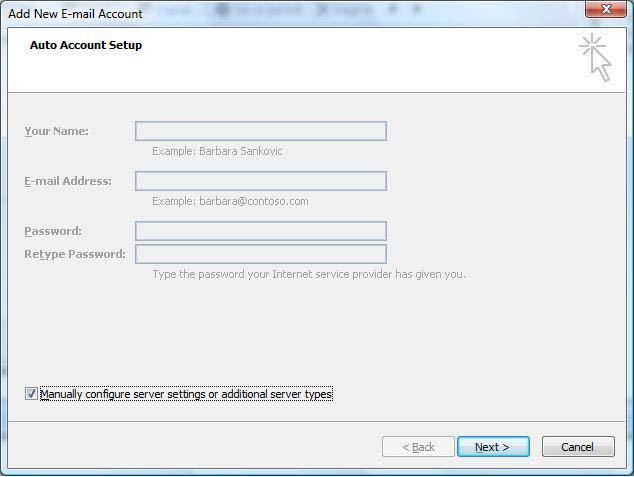
    STEP 3:   Auto Account Setup: Select "Manually configure server settings or additional server types".


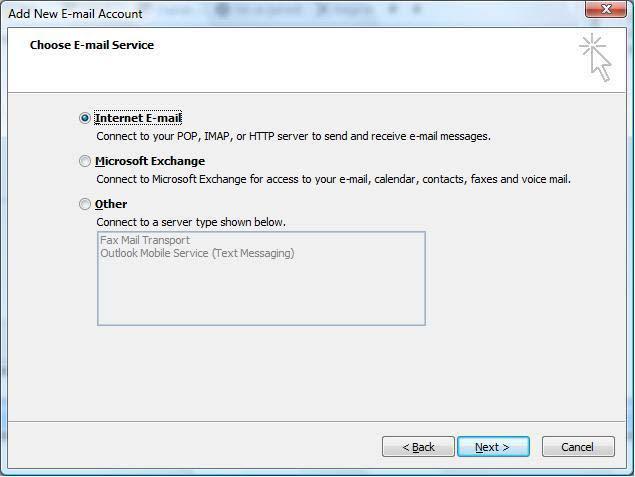
    STEP 4:   Choose E-mail Service: Select "Internet Email".


    The following informations are required::

    • Your Name: Your Full Name
    • Your full email address:
    • Incoming mail server (POP3): mail.yourdomain.com
    • Outgoing mail server (SMTP): mail.yourdomain.com
    • User Name: Your full email address
    • Password: The one you specified in your control panel when creating your email account


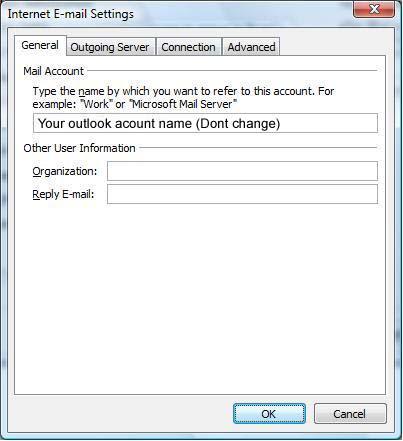
    STEP 5:   Once your settings look like the settings shown in this screenshot, click on the "More Settings..." button in the bottom right hand corner.


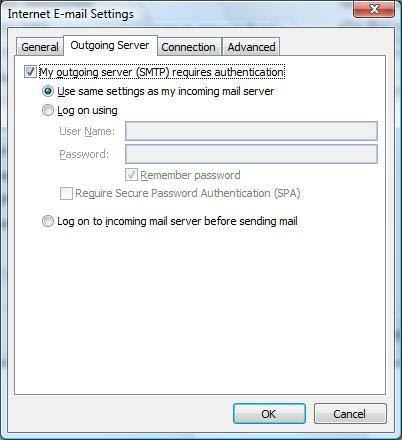
    STEP 7:   Internet E-mail Settings: Click the "Outgoing Server" tab at the top of the screen and Put a checkmark in "My outgoing server (SMTP) requires authentication" and make sure that the dot is in "Use same settings as my incoming mail server".


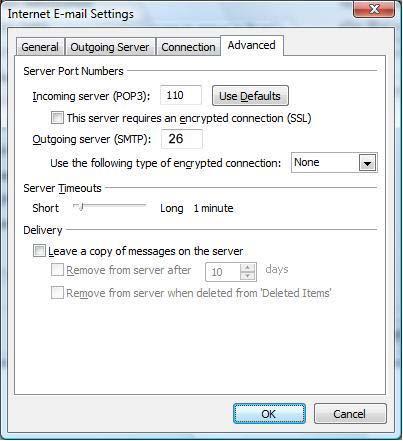
    STEP 8:   Advanced: Click on the "Advanced" tab at the top.

                   For Incoming Server (POP3): 110 and Outgoing Server (SMTP): 26


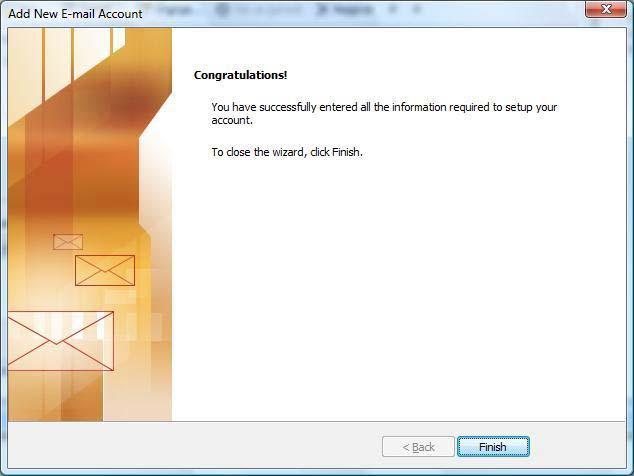
    STEP 9: Click the "OK", "Next" and then


    NOTE: As a courtesy, we provide information about how to use certain third-party products, but we do not endorse or directly support third-party products and we are not responsible for the functions or reliability of such products. Outlook® is a registered trademark of Microsoft Corporation in the United States and/or other countries. All rights reserved.

Comments

0 comments

Sponsored

Sponsors